Tip #1 (In no particular order) – Rotate the Map to See Depth

You can rotate the map (accessed by pressing ‘m’) by pressing and holding left click, right click, or mouse wheel to check the depth of way points. It’s hard to tell where things are in terms of height with the default map view. Sometimes you need to tunnel up or down to the objective.
You can also zoom in and out on the map using the mouse wheel which will zoom in and out the mini map as well.
Tip #2 – You Can See Beacons on the Compass
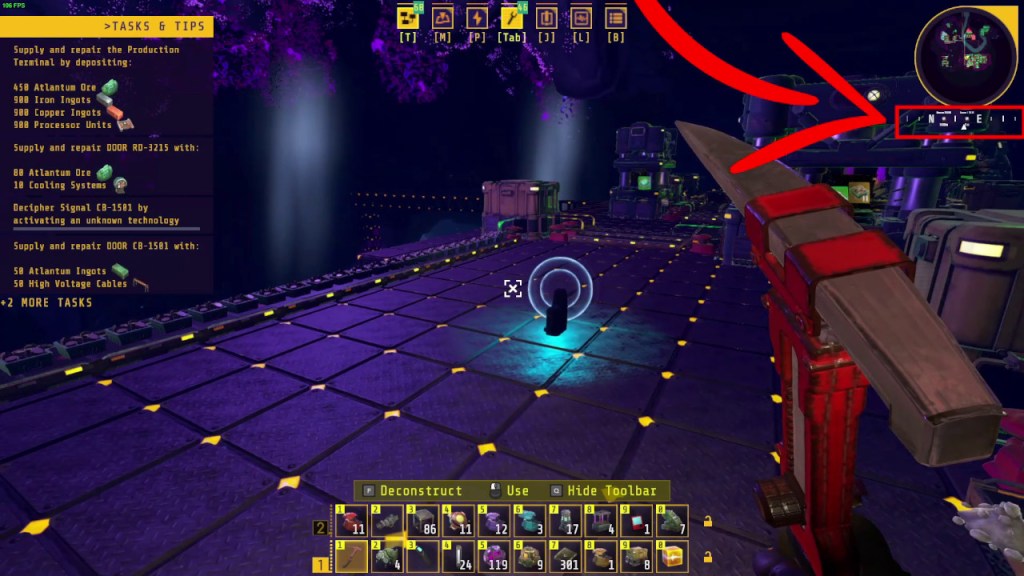
If you want to save a point of interest, you can make and place a beacon at that location. The beacon will show up on the compass as a tiny icon. The compass is underneath the mini map.
Tip #3 – Tool Belt Controls
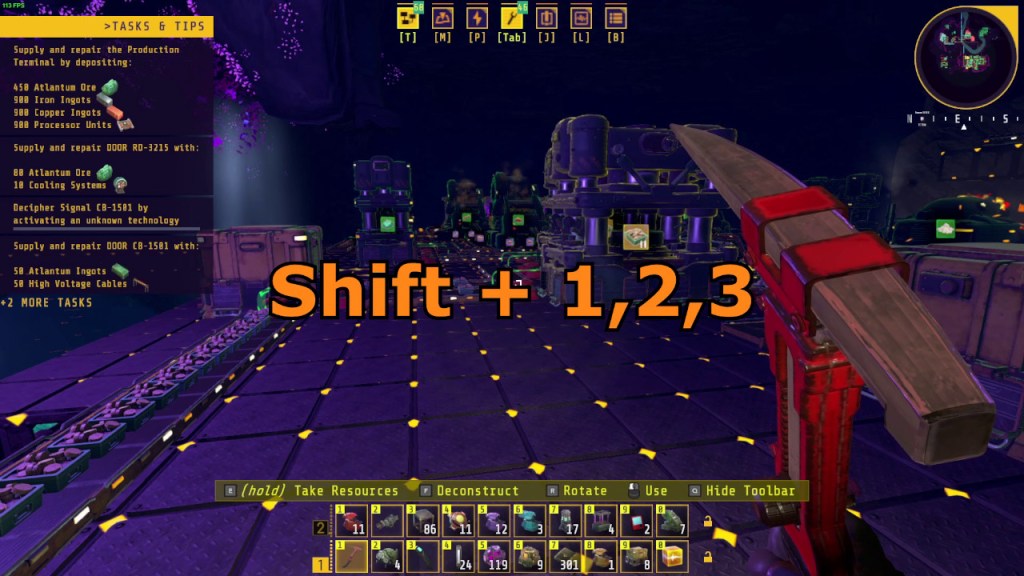
The tool belt controls are a bit obtuse but they are decent once you get used to them. Press “shift” and numbers ‘1’ to ‘3’ to access that specific tool belt. I unlocked up to six tool belts so far.
Pressing the numbers ‘1’ to ‘0’ and ‘F1’ to ‘F10’ will access that specific item in the tool belt. ‘1’ to ‘0’ will access the items on the lower tool belt and the function keys will access the items on the upper tool belt.
Tip #4 – Use Pre-existing Structures
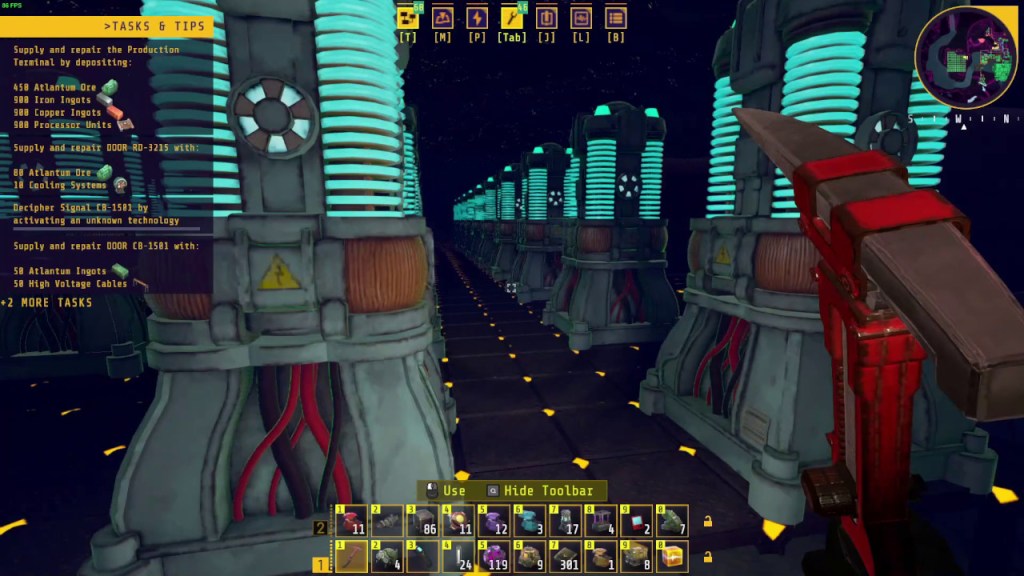
The map has sections of existing technology that you can repurpose in order to save room in your base builds. For example, one of the rooms you encounter early on is the accumulator room. It has some power floors and accumulators already built that you cannot tear down. You can simply repurpose this room as your accumulator room by digging up more space, laying more power floors, and placing more accumulators.
Tip #5 – 2 Cranks Per Water Wheel
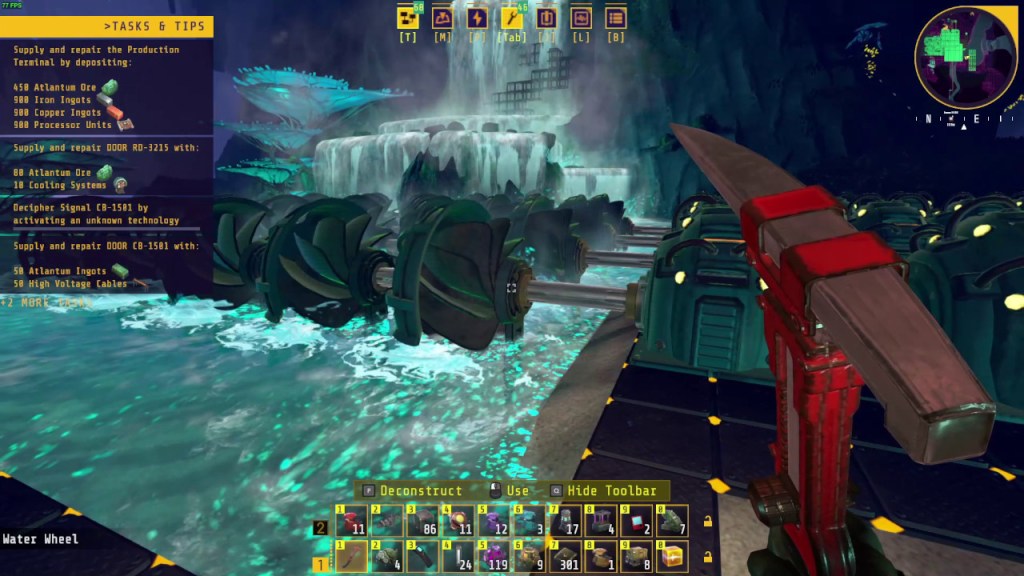
I had to figure this out on my own. You can only place up to two cranks per single water wheel. So basically, for every single water wheel you place down, you can connect up to two cranks. If you place down five water wheels, you can connect up to ten cranks. The water wheel seems to work as long as it is in a deep enough section of water.
Tip #6 – Use Storage Buffers
Your production line may stall if an input or output gets clogged up. An easy way to alleviate the stalling is to create storage buffers. You can make a storage buffer by placing storage containers to temporarily store the input materials, by products, or final products and output them back into the production line. The production line may still stall if the storage buffer is overfilled so the best way to avoid this is to make sure no section in your production line is under or over utilized. The Techtonica calculator can be a handy tool, but the best way for now is to eyeball how quickly resources are being used up and produced.
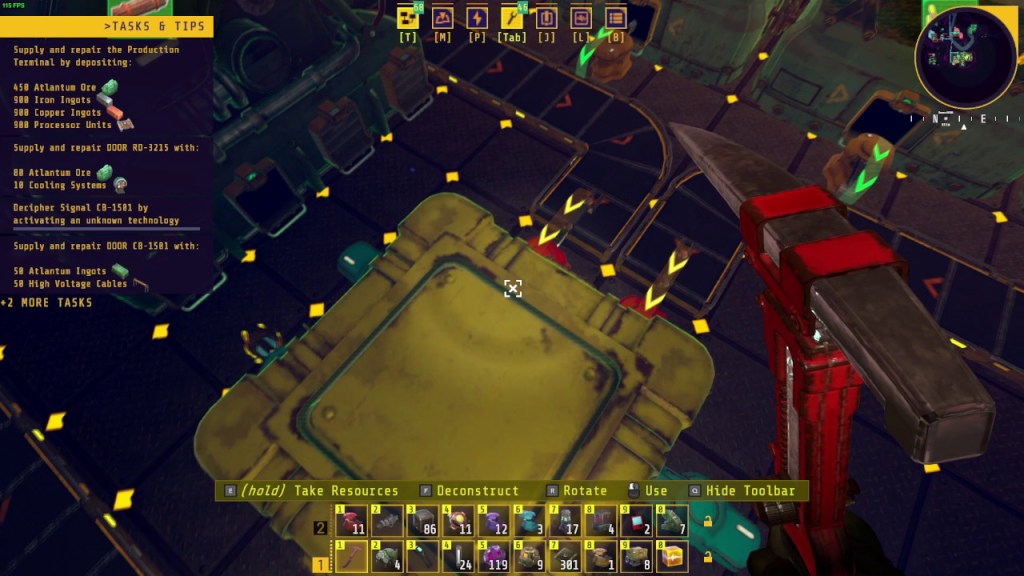
Tip #7 – Use Vertical Base Design
There is not enough space to make your base so creating multiple floors would make it much easier to design your base. The conveyor belts have no problems being built up or down in empty air. In the picture above, I built the refueling belt line above the extractors.
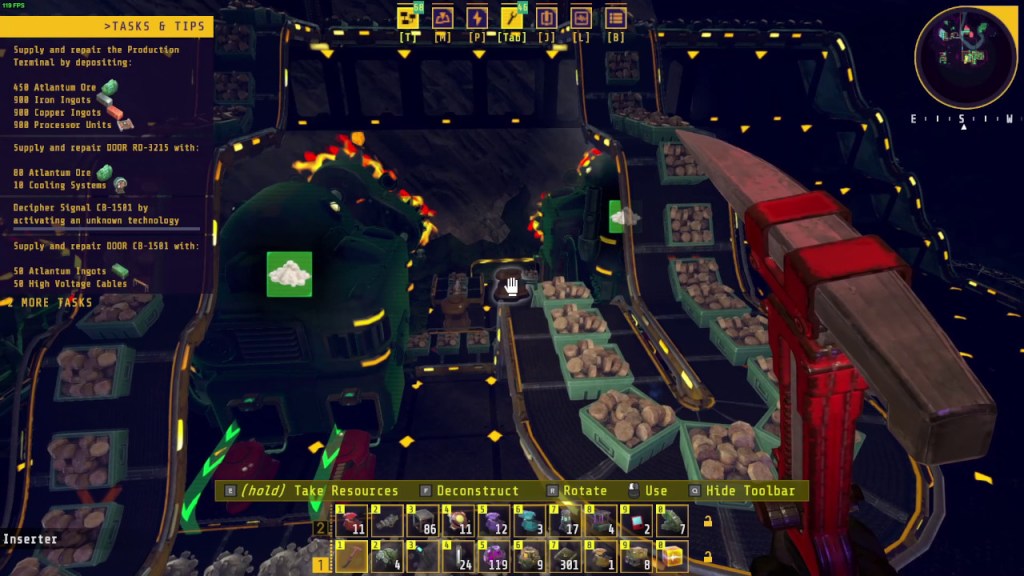
Tip #8 – Plan for at Least Three Buses
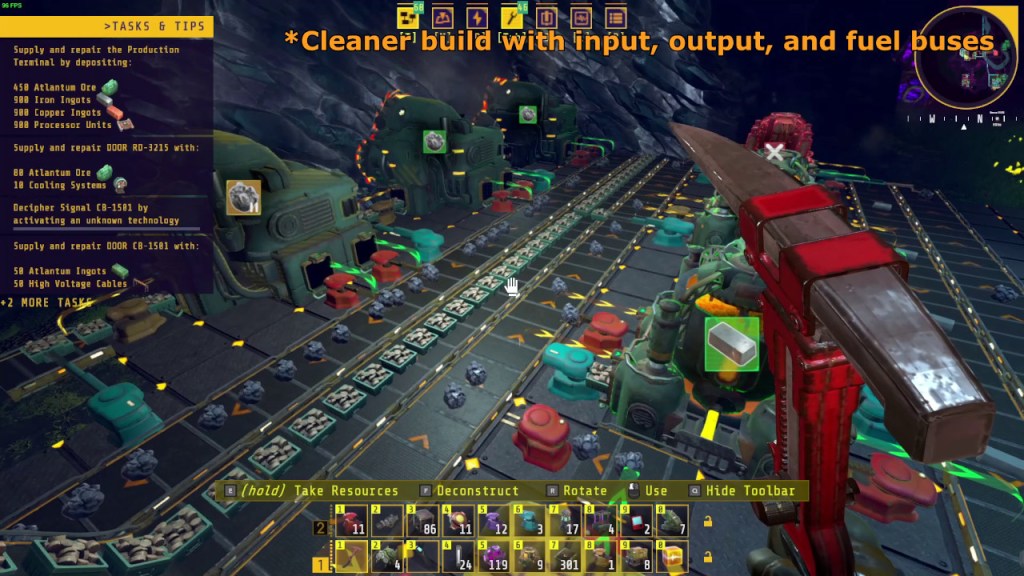
When building, it’d make spacing things much easier if you plan for at least three buses. One for input materials, one for output materials, and one for refueling. The picture above shows an output belt for raw ore, a belt for bio bricks to refuel everything, and an input belt for the smelters. I could make the design cleaner by deleting one ore belt and just use long arms to input directly into the smelters but you get the general idea.
That’s it for now, if you guys need a help on any specific topic please feel free to let me know and I’ll do my best to respond.
