Intro
This is a guide to get wireless trades working on the RG35XXH/Plus/SP for the GBA Pokemon games that have support for the GBA wireless adapter such as FireRed and LeafGreen. You can theoretically do this on any device running RetroArch 1.18 and the latest gpSP core.
Installing muOS
For the RG35XX H and Plus, we’ll be using muOS. muOS is freely available and is running RetroArch 1.18 as of this writing.
08-09-2024 – As an update, if you bought the handheld recently, the stock operating system may already be running RetroArch 1.18 or higher. In this case you do not need to install muOS unless you want to.
Downloading muOS
Download muOS from the official website here: https://muos.dev/release/plush
Extract the contents using a program like 7-Zip: https://www.7-zip.org/
Flashing the Image
There will be one single image file. We’ll be flashing this to a microSD card using software like rufus or balena etcher. I did read about balena etcher causing some issues so I’d recommend using rufus for now.
Download rufus here: https://rufus.ie/
I would use the portable version and put the exe file into its own folder.
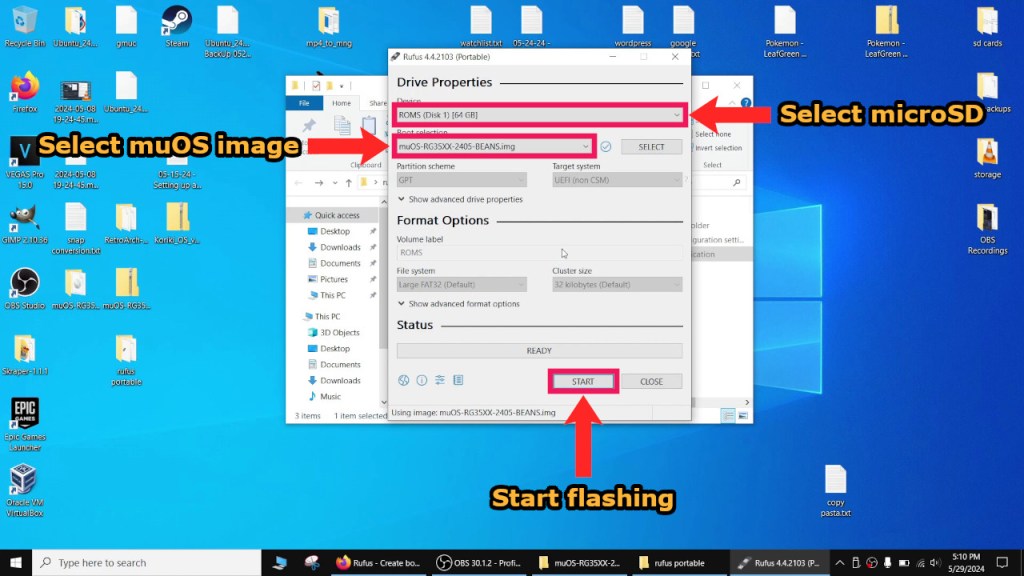
Connect a microSD card to your computer using an adapter and start up rufus. In rufus, select your microSD card drive and the image file we just unzipped.
!! Now before we press the Start button, I would like to warn you that flashing an image to the microSD card will delete everything on it. If there is anything you would like to keep, please back it up before flashing. !!
Flashing should take approximately 2 minutes or so. After it is finished, you can just remove the microSD card adapter as there will be no option to safely eject.
Installing on the RG35XXH/Plus
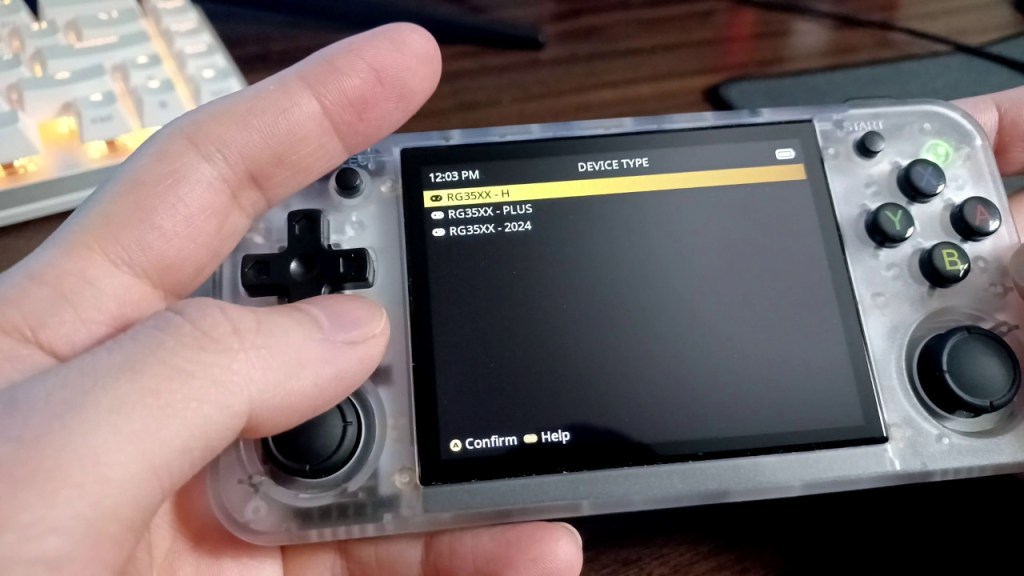
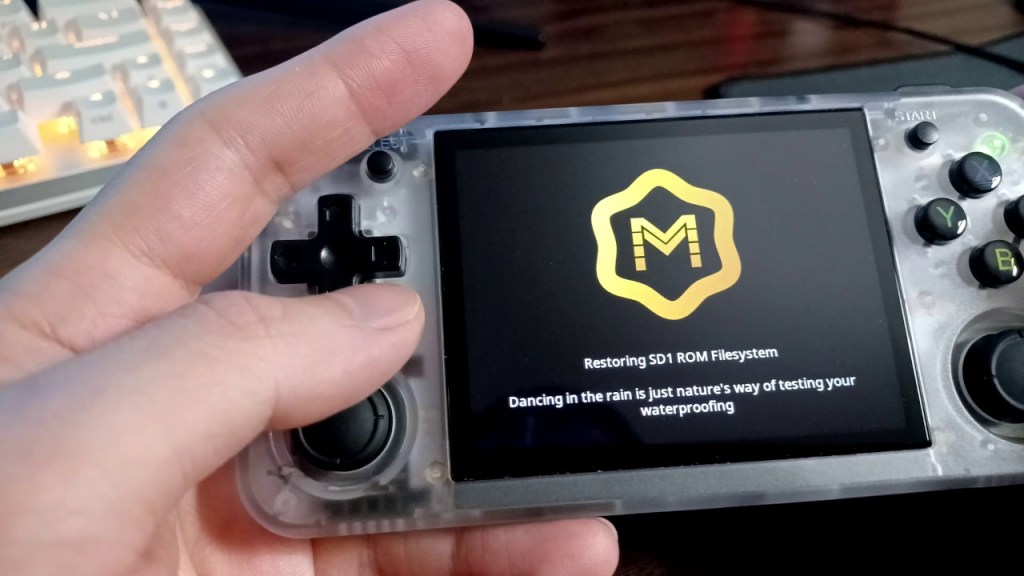
Plug the microSD card back into your handheld and turn it on. muOS will prompt you to select your device, set the region, date, and time and then start the installation. It should take roughly 7 minutes or so to finish.
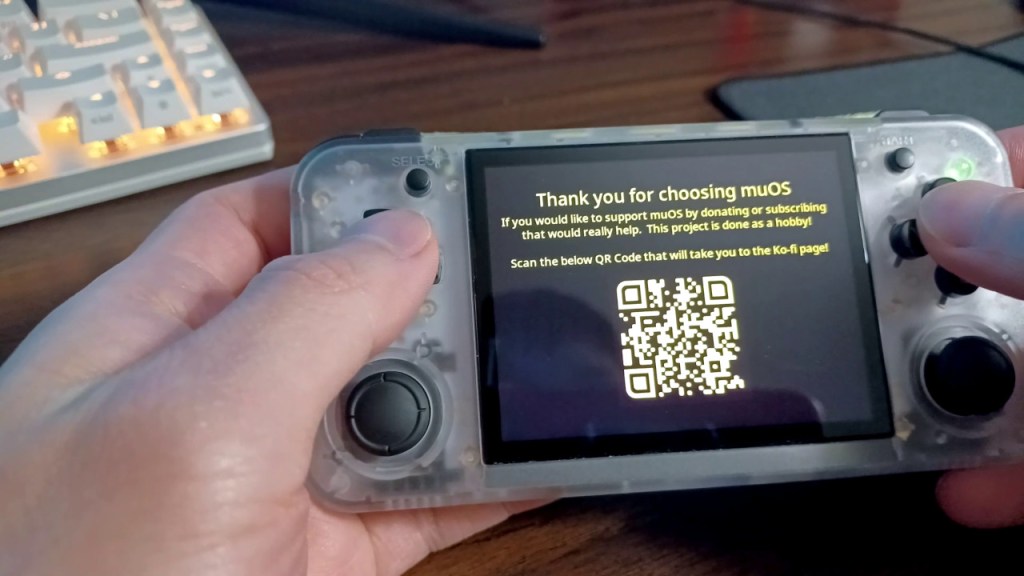
Once you see this screen, the installation is done and you can turn off the device and remove the microSD card so we can transfer over any ROMs and save files.
Prepping the microSD Card
Getting the microSD Card to Show on Windows
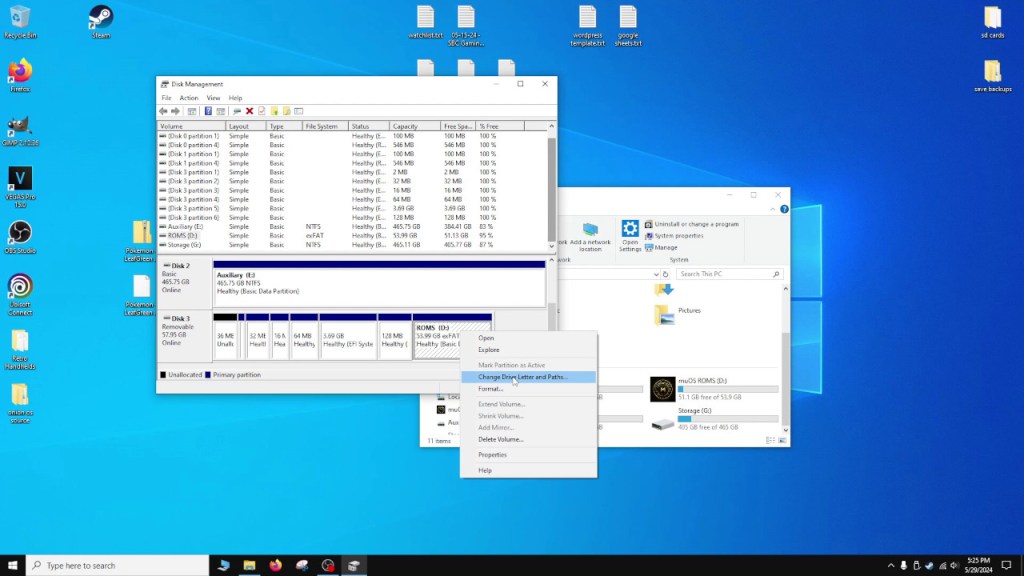
If the SD card is not showing up on Windows, start up Disk Management by typing in “disk management” in the Windows search bar and find your microSD card. There will be many small Linux partitions and the last one will be the largest and hold our ROMs. Right click on this partition and assign it a drive letter. Any drive letter will do. After this step, the card should show up in Windows now.
Copying ROMs
To copy over our GBA Pokemon ROMs, create a folder named “GBA” in the SD:\ROMS directory. Copy the ROMs into this folder.
Copying Saves
To copy over any GBA save files, navigate to SD:\MUOS\save\file and create a folder named “gpSP”. Put your save files into this folder. You’ll want to make sure the save file extension is .srm and that they match the ROM name exactly. You can freely rename the .sav extension to .srm and vice versa.
Prepping the Game
Connecting to WiFi
Put the microSD card back into the device. To connect to WiFi, go to Configuration -> Wi-Fi Network, and press the X button to scan for access points. Select your home network and type in the password in the Password field, and then go scroll down to Connect and press A.
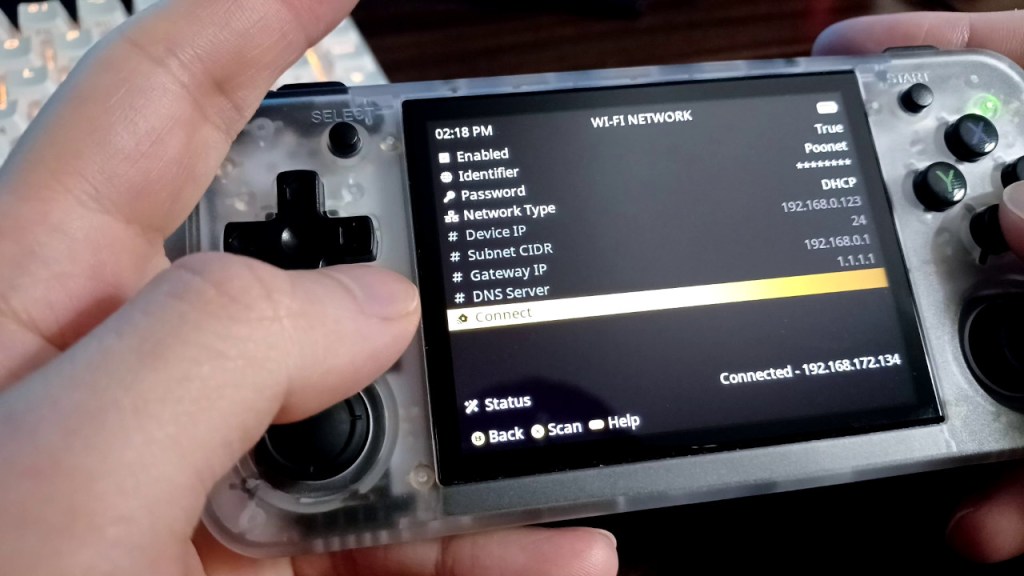
After connecting, write down the IP address for later as we’ll need it to connect to this device as a host for the second handheld.
Starting Pokemon
To start Pokemon, go to Explore Content -> GBA, and then pick your game.
RetroArch Settings
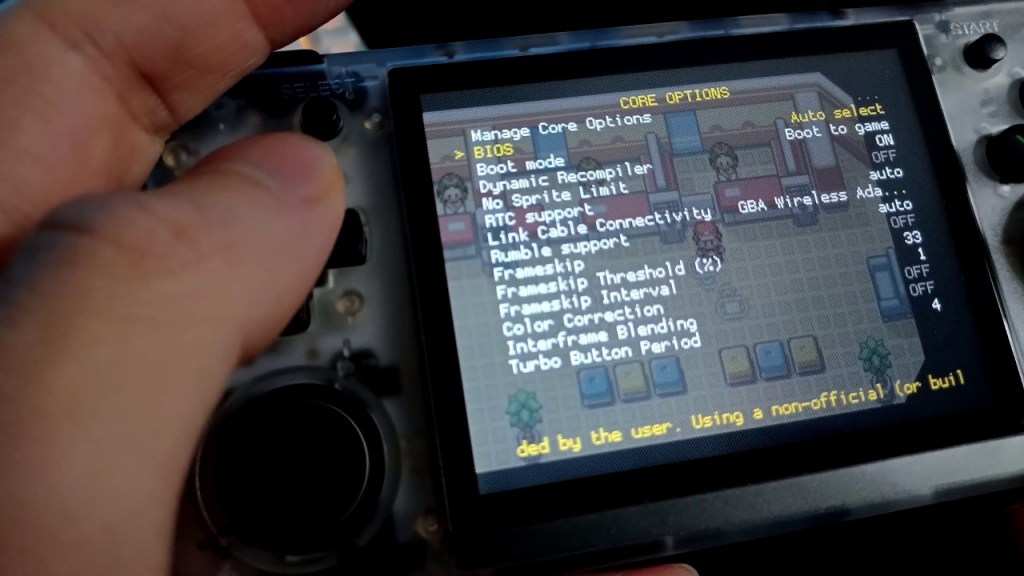
Once the game starts, press the Function button (on the top right side of the RG35XXH) and the X button at the same time to bring up the RetroArch menu.
Scroll down to Core Options -> Link Cable Connectivity and make sure this is set to GBA Wireless Adapter.
Netplay
After this, press B to back out of the menu, and then press B one more time.
Go to Netplay -> Host -> Start Netplay Host.
On the second device, repeat the steps for the Link Cable Connectivity, and go to Netplay. Instead of Host, go to Connect to Netplay Host and type in the IP address of the host handheld.
That’s it! Now you can trade Pokemon. If it doesn’t work, try getting closer to the router or use a phone as a hotspot.
Thank you for dropping by! As always feel free to leave a comment if you need more help or refer to the video guide embedded above.
Changelog
08-09-2024 – Added a small update about the stock OS potentially having RetroArch 1.18 or higher if purchased recently.
